Editor’s Note: This article is based on a YouTube video by Man Vs Cars, documenting the transformation of a 2009 Subaru Forester into a budget-focused off-road build. The video features the installation of MaXpeedingrods T6 Coilovers and a full lift kit, followed by the vehicle’s initial setup and first drive into the woods.
Why Build a Subaru Forester for Off-Road Use?
A Subaru Forester may not look like a conventional off-road vehicle, but the creator saw potential in its symmetrical all-wheel drive and practical interior. With the rear seats folded flat, the vehicle also offered useful cargo space for tools, equipment and future trail trips.
Rather than keeping the Forester as a daily driver, the goal was to give it a taller stance and make it more suitable for driving beyond paved roads. First, however, the vehicle needed attention. It arrived with oil leaks, unusual noises, worn suspension and other mechanical issues. Once the main problems had been addressed, the suspension and lift installation could begin.
Replacing the Worn Factory Suspension
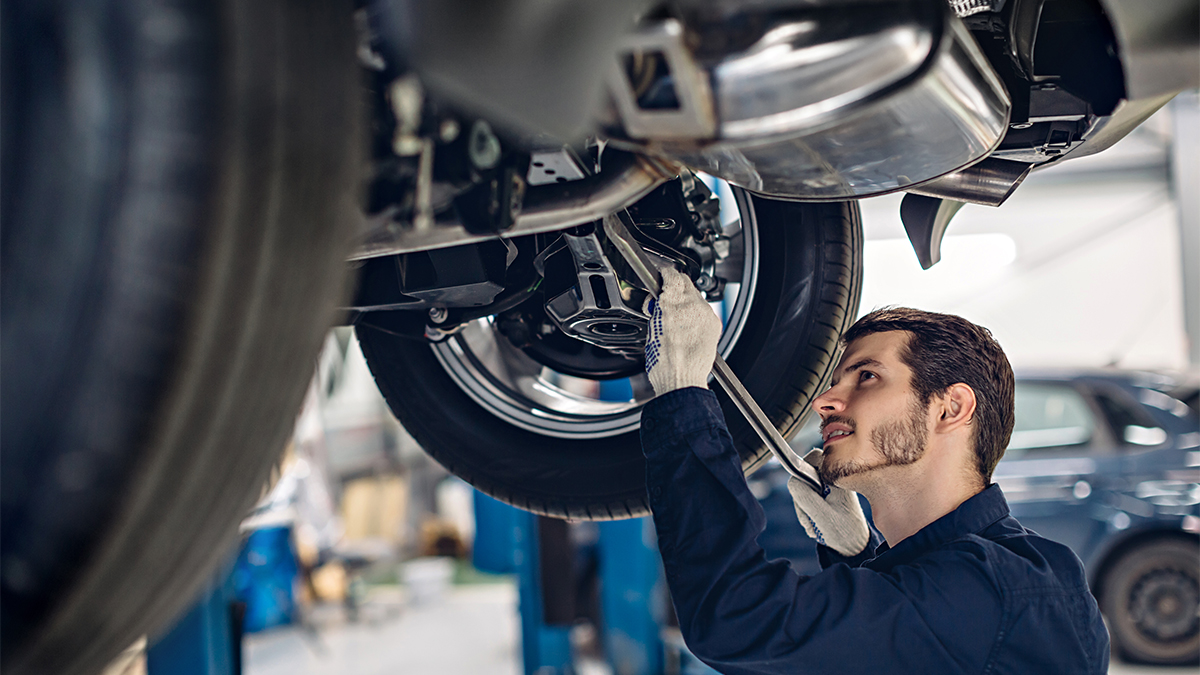
Removing the original struts revealed how worn they had become. The components showed extensive surface corrosion, the front struts appeared to be seeping slightly, and the lower bushings on the rear units were badly deteriorated.
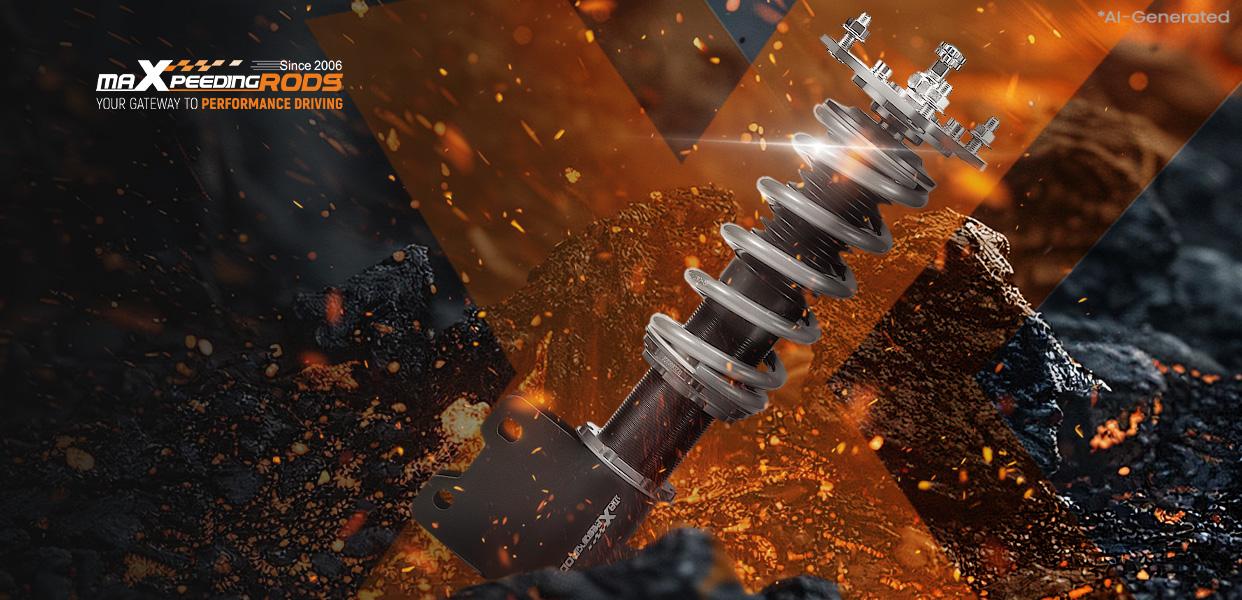
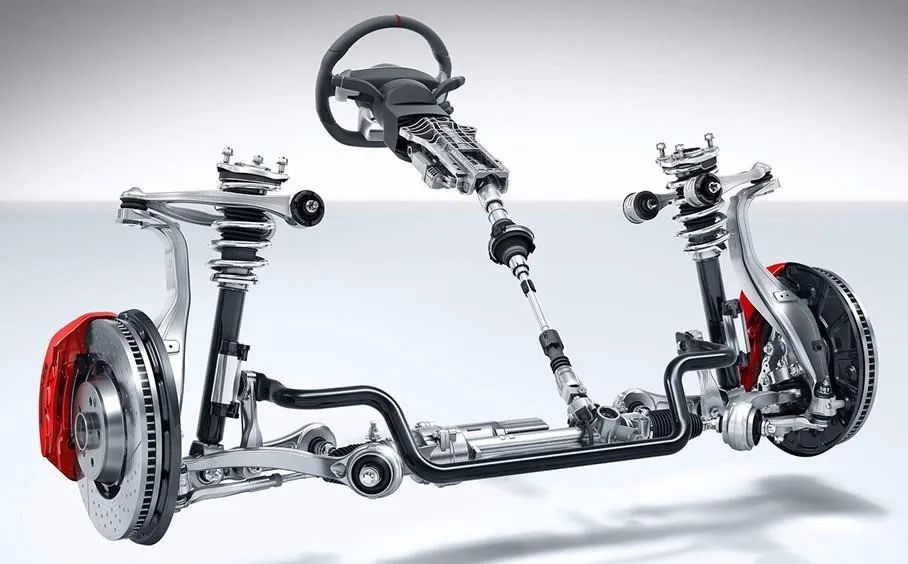
The creator replaced them with a MaXpeedingrods T6 Coilover Suspension Kit for the 2009–2013 Subaru Forester. The T6 coilovers feature 24 levels of rebound damping adjustment, giving the builder a range of settings for tuning the suspension response.
For the initial setup, he turned the dampers toward the softer end of the adjustment range because he did not want an overly firm starting point for the trail. This was his personal choice for the build’s first test rather than a recommended setting for every vehicle or surface.
Combining the Coilovers With a Full Lift Kit
To create the taller setup, the coilovers were paired with a 3-inch full lift kit with 2-inch rear trailing arm spacers.
Before installation, the creator positioned the new coilovers beside the original struts and adjusted their lengths for the planned combination. The lift spacers were then mounted above the suspension assemblies. At the rear, the installation also included the supplied subframe spacer pucks, new hardware and an extension bracket for the brake-line mounting point.
After all four assemblies were installed, the Forester was lowered onto its wheels. The creator allowed the suspension to settle under the vehicle’s weight before tightening the remaining connection points, helping avoid unwanted tension in the suspension joints.
Checking the New Stance
Once the Forester was back on the ground, the difference was easy to see. The wheel-to-fender gap increased from around 3.5 inches to approximately 6 inches at the rear and 6.5 inches at the front.
The taller stance also revealed noticeable positive camber at the front wheels. The creator made an initial camber adjustment on both sides, improving the wheel position before the first drive. He also noted that the Forester would still need a professional alignment.
First Drive Into the Woods
During the first drive, the creator found that the suspension felt noticeably firmer than before. The Forester maintained its steering range and successfully made its way through the initial wooded section.
The test also revealed tire rubbing at the front and rear as the vehicle turned and moved over uneven ground. After returning to the workshop, the creator identified contact around the inner fender liner and nearby bodywork. He trimmed part of the plastic liner and adjusted the contact area to create additional clearance for the tires.
These findings made the first trail run an important part of the setup process. It confirmed the change in stance and suspension feel while identifying the areas that still needed adjustment.
The Next Stage of the Forester Build
With the worn factory struts replaced and the lift components installed, the 2009 Subaru Forester had taken a clear step toward the budget off-road build the creator envisioned. The project still required a professional alignment, further clearance checks and more testing, but the first drive showed the progress made through the new suspension setup.
MaXpeedingrods offers a range of adjustable coilover suspension kits for different vehicles and build goals. Before installation, always confirm compatibility with the specific vehicle and check alignment, fasteners, brake lines and tire clearance after making suspension-height changes.